Thought photographing the Northern Lights was too difficult to even try? Follow our simple steps and immortalize your holiday in Lapland with your very own photographs of the Northern Lights!
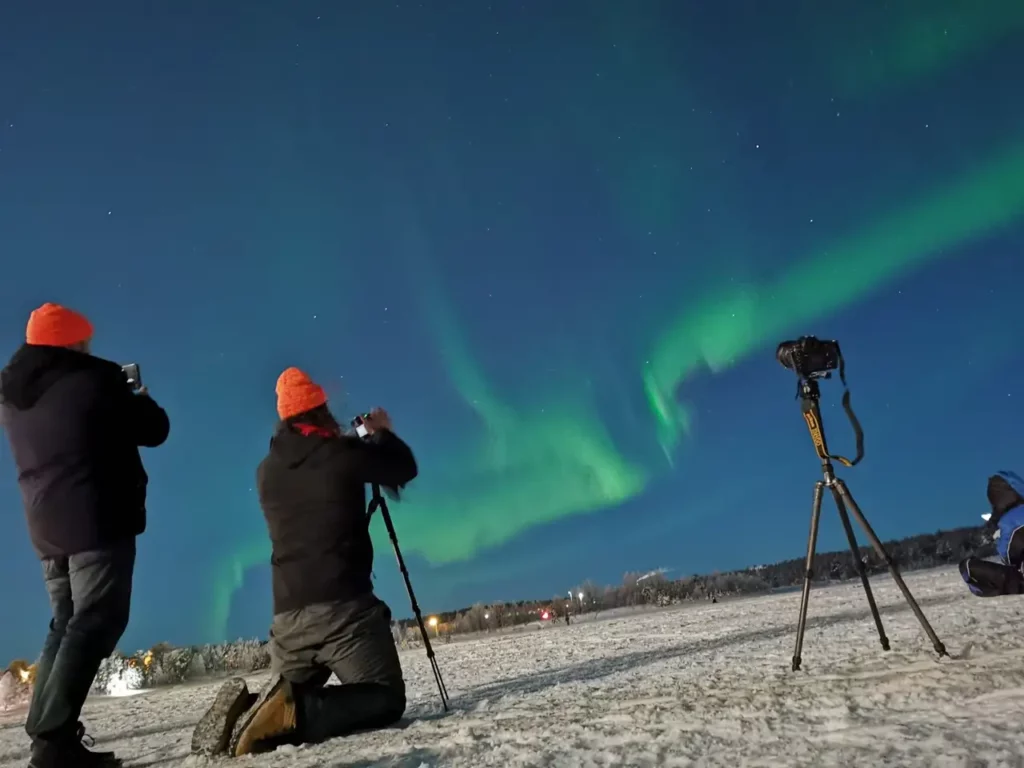
Here’s a list you can use as your own manual to help you nail your Aurora photo shoot. However, there is one piece of equipment, without which none of this will work: a stand for your camera. Photographing Auroras requires up to 20 seconds of exposure time, during which ANY movement of the camera will ruin the image. If you don’t have a camera stand, go get one.
Also, make sure you have a full battery. If you’re planning on staying out all night, take a spare one with you.
1. Prepare your camera as much as possible while still indoors
If you’re in a place where Auroras are readily visible then, chances are, it’s cold outside. You want to be doing as little fiddling with your gloves off as possible.
2. Use the manual mode
The first thing to do is to set your camera on full manual mode. Manual focus, manual aperture, manual sensitivity, manual everything. This way you can guarantee you have the full control of the camera. Check your camera’s user manual, if necessary.
3. Set your camera’s focus
Do this while you’re still indoors. Take a look out the window and look for something about 20 to 30 meters away. (That’s about 65 to 100 feet for our American cousins). Use this to set your camera’s focus. You can set your camera to “infinite focus” but this doesn’t work for all situations.
4. Set the ISO
ISO setting is the camera’s sensitivity to light. The higher the ISO setting, the more sensitive. However, The highest settings generate a more “Grainy” image. Typical manual settings go up to 3200. For Auroras, 1600 is a good sweet spot to begin with. If the Auroras are dancing all over the place the 3200 with a faster shutter speed will do the trick. If they’re slower, then an ISO of 800 with a good long exposure is the way to go.

5. Shutter speed
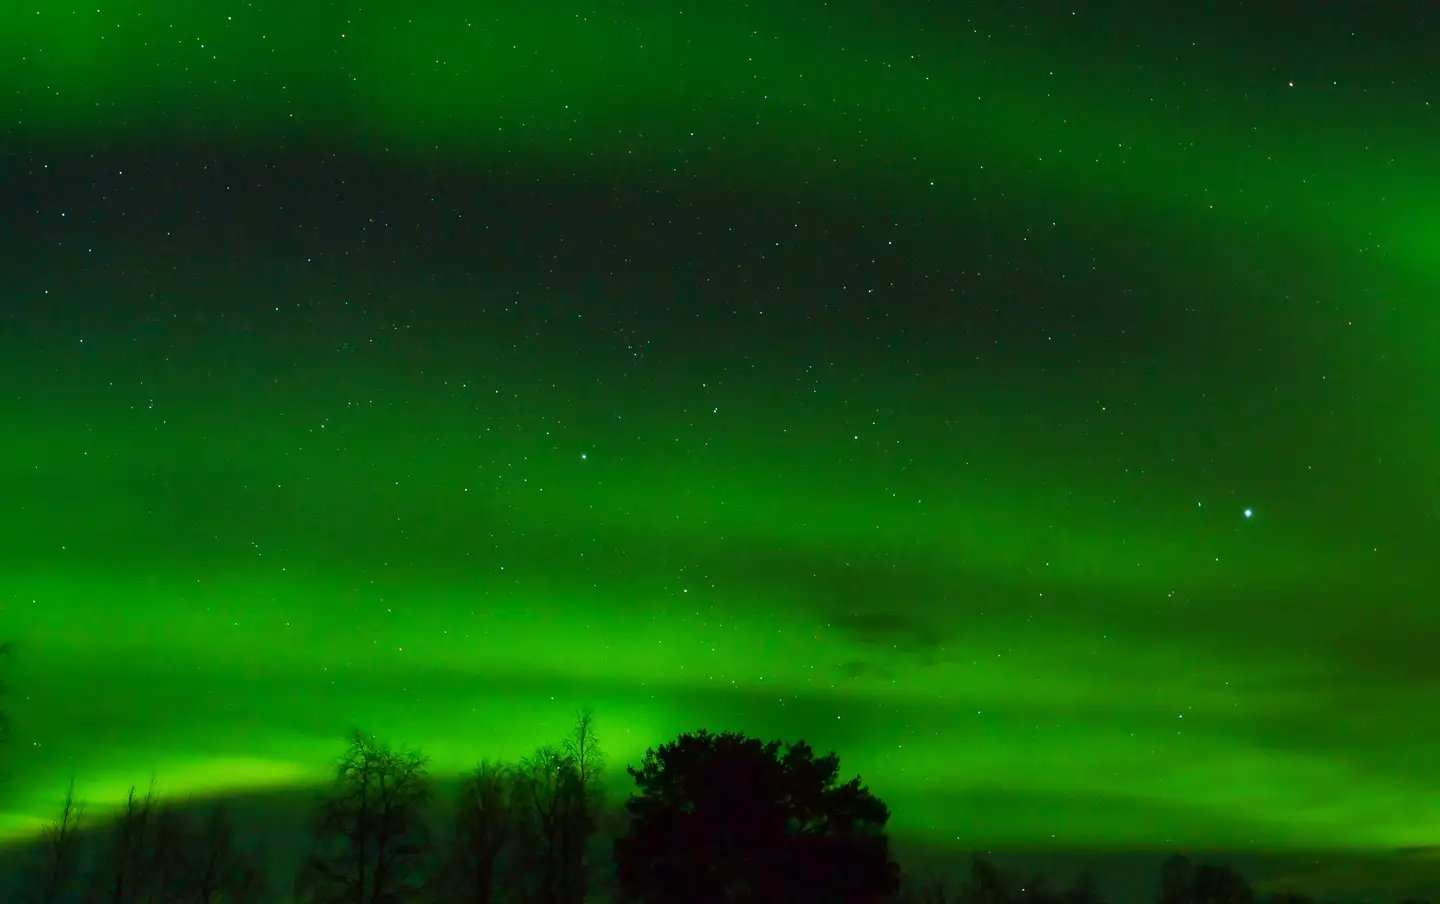
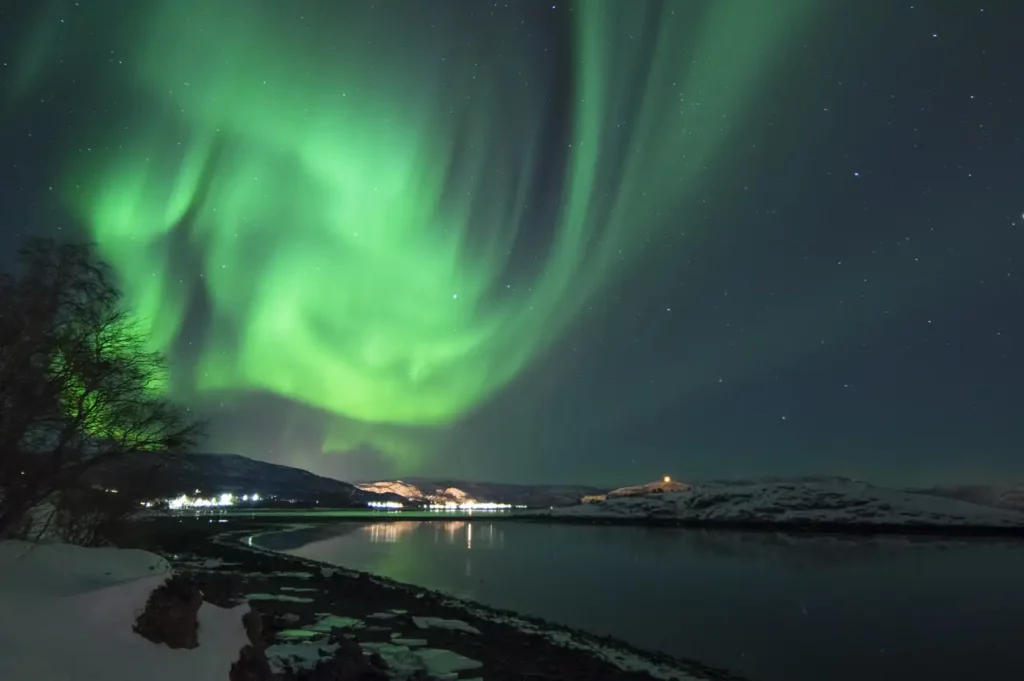
The shutter speed depends on movement. For Auroras that are dancing all over the place, a faster shutter speed is needed for a clear image. Anything from 3 to 8 seconds will be enough. Any longer than this and the image will be blurry and grainy.
For the “steady-state” green streaks across the sky, a nice long exposure is needed. Using an ISO of 800, setting a 10 to 20 seconds exposure will suffice to capture any detail. Any longer than this and the stars will be “streaky”, anything less than about 10 seconds and the image will be very dark with not a lot of detail.
6. Set the Aperture (F-number)
General consensus is to set the aperture low. Something from F 2.4 to F 4.
7. Why not set the focus to infinity?
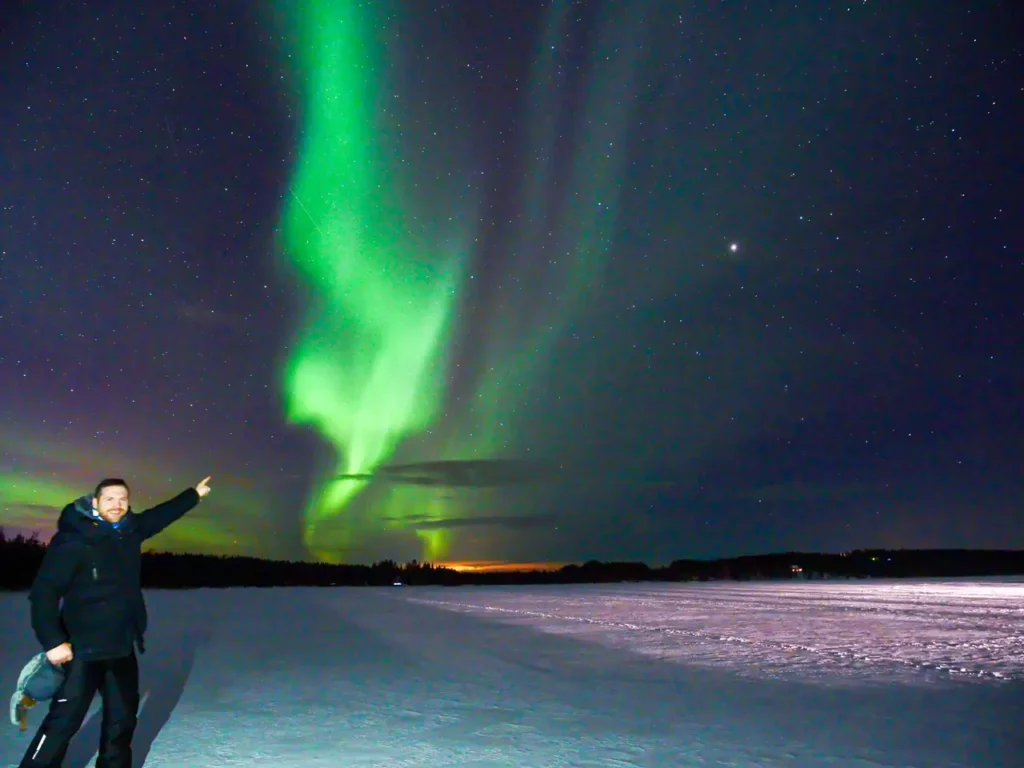
Sometimes it’s nice to be in the photo yourself. If the camera’s focus is set to infinity, the Auroras and stars may be in focus. However, this blurry human shaped smudge at the bottom of the image could spoil the photo. Setting the focus manually will allow people to be in focus as well as the Aurora. Just make sure they are a similar distance from the camera as the thing you used to set the focus. (Accuracy here isn’t too important, as the focus at this distance will have a very wide range.)
8. Being in the photo yourself
Being in the photo is simple. Make sure you have a flashlight available. The flashlight on your smartphone will suffice.
Set the flashlight about 10 meters (30 feet) behind the camera (leave it lying on a hat or a glove to protect the battery from the cold).
DON’T shine it directly towards where you’ll be standing. Instead shine it off to the side slightly, so you are still illuminated but not so brightly.
If you can sit down, do so. Depending on the shutter speed needed for the Auroras behind you, you might be standing still for a while. Any movement will make for a blurry face. Use the camera’s timer or a remote.
9. Experiment
Try different things to see how they turn out. Mostly it’s just wasted memory space but every now and again you will capture something that blows your socks off. And what better way to think back to your holiday when you return home?